Why Won’t My HP Printer Recognize New Ink Cartridges?
Updated on
Is your HP printer not recognizing your new ink or toner cartridges? This kind of problem is fairly common among HP users around the world. It mostly happens when you’re using refilled, compatible, or remanufactured cartridges.
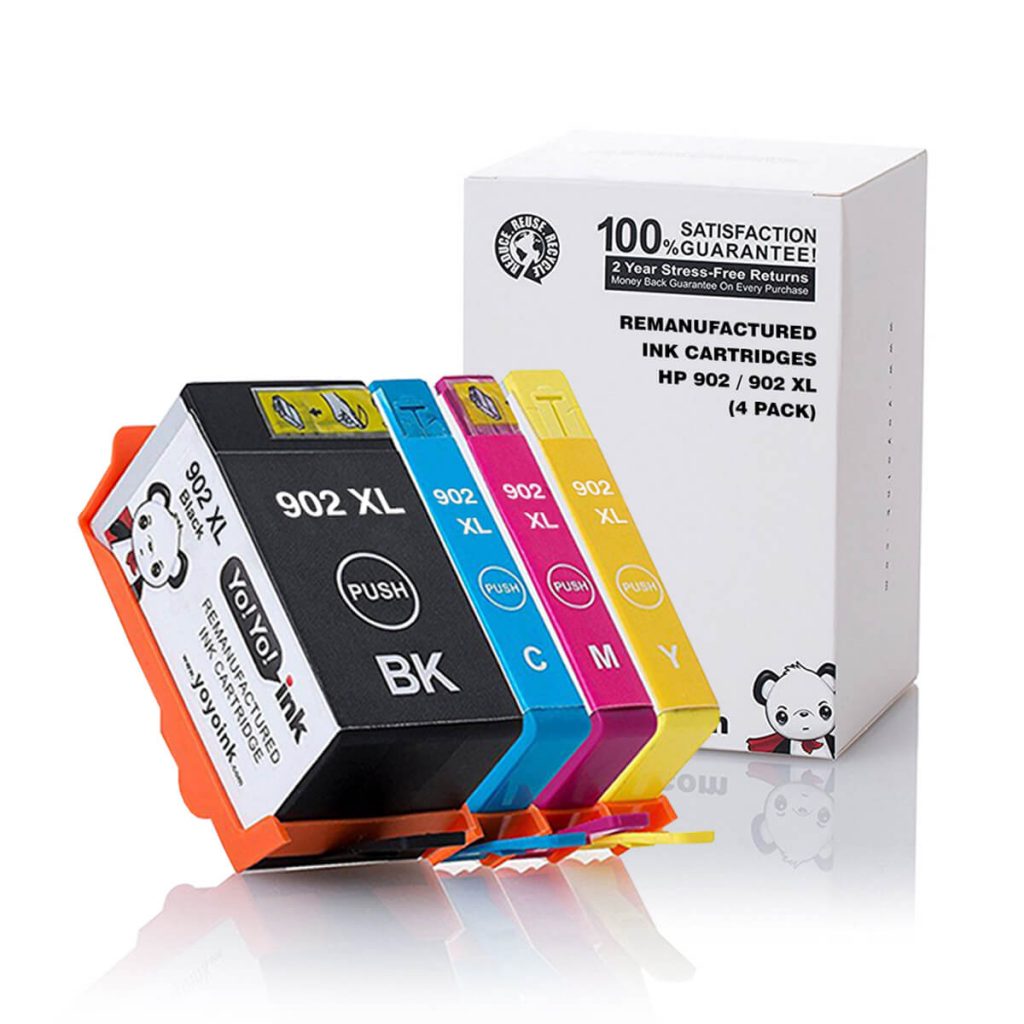
HP 902XL Ink Cartridges
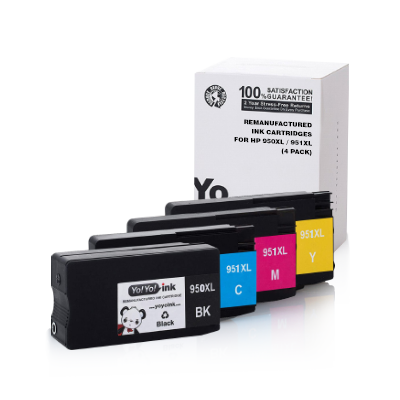
HP 950XL 951XL Ink Cartridge
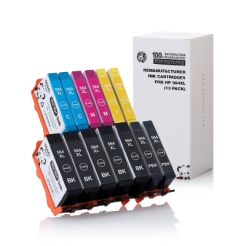
HP 564XL Ink Cartridge
After replacing your empty ink cartridges with new ones, you may suddenly encounter any of these error messages or displays:
“Toner is not compatible“
“Printer Cartridge Not Detected“
Low ink or toner levels “HP cartridges locked” or “cartridge protection enabled.“
If you receive any of the above error messages, then your printer’s ink cartridges are not detected. Let’s take a look at some of the possible causes of why it happens and the troubleshooting steps you can follow to resolve the issue.
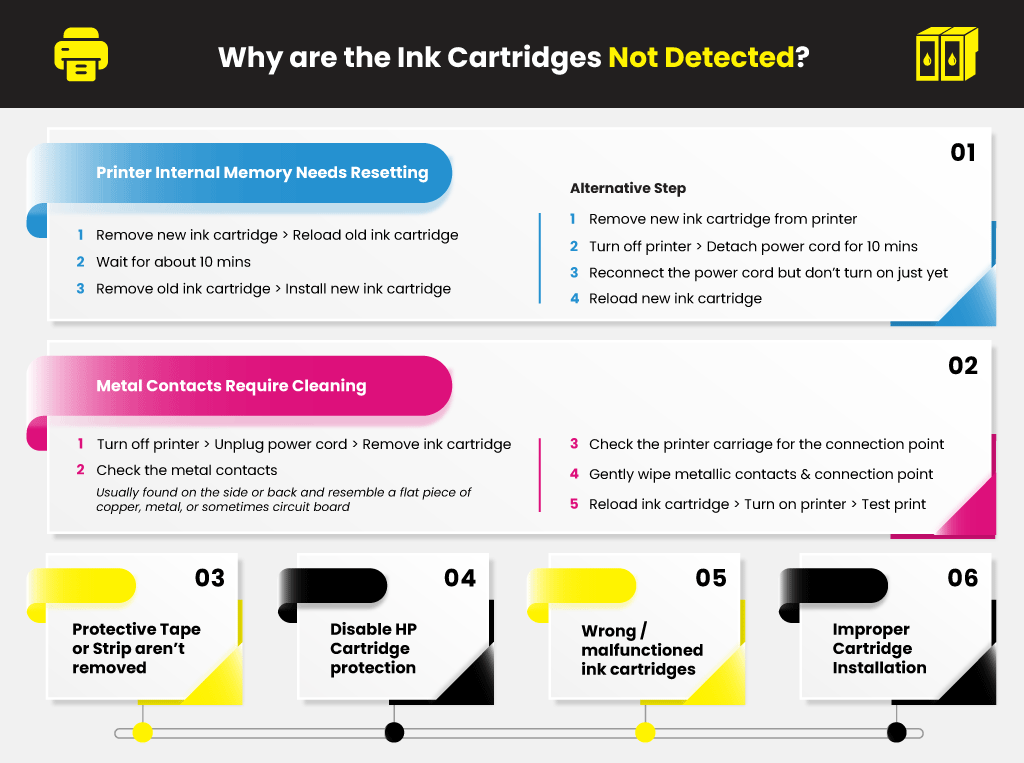
1. Printer Internal Memory Needs Resetting
Normally, your HP printer can accurately detect full ink levels or new ink cartridges. In some instances, however, it fails to do so primarily because its internal memory is full. When this happens, the printer will still “think” that it’s using an old or empty cartridge even though you already replaced it with a new one. You can resolve this problem by resetting your HP printer’s internal memory:
Remove the new ink cartridge and reload the old ink cartridge back into the printer.
Wait for about 10 minutes before you proceed to the next step.
Remove the old ink cartridge and install the new ink cartridge again.
Your HP printer should be able to recognize your new ink cartridges by now. If it still doesn’t, try these alternative steps instead:
Remove the new ink cartridge from the printer
Turn off your HP printer and detach its power cord for 10 minutes
Reconnect the power cord but don’t turn on the power button just yet
Reload the new ink cartridge back into the printer
HP ink cartridges feature numerous metal contacts responsible for transmitting electronic signals to the printer. This link allows the printer to instruct the cartridge to release ink to apply it to the paper during printing.
When metal contacts become dirty or damaged, it disrupts the flow of communication between the printer and ink cartridge resulting in HP ink cartridge, not working errors. Make sure that your metal contacts are clean with these steps:
Turn off your HP printer and unplug its power cord.
Remove the new cartridge from the printer.
Check the metal contacts. They are usually found on the side or back and resemble a flat piece of copper, metal, or sometimes circuit board.
Check the printer carriage for the connection point. It’s the part that the metal contacts touch when they are installed in the printer.
Using a clean, lint-free, and dry cloth, gently wipe the metallic contacts and the connection point.
Make sure that all dirt and residue are wiped clean.
Reload the new ink cartridge back into the printer
Turn on the printer and do a test print to see if the ink cartridge gets detected.
3. Protective Tape or Strip aren't removed
Did you forget to take out the protective covering before installing the new toner or ink cartridge into the printer? If you did, then the printer won’t be able to recognize the cartridge. Make sure that the protective taping is removed to prevent printing errors from arising.
4. Disable HP Cartridge protection
HP has integrated its printers with a firmware that helps ensure smooth performance and functionality. Sometimes though, this same firmware can be a source of headache, especially if you’re using compatible or remanufactured HP ink cartridges. It prevents these types of cartridges from working by putting a “cartridge protection lock” on the printer.
Remanufactured ink cartridges offer plenty of benefits, especially on the economic side, so if you’re planning to use them, it would be best to disable HP cartridge protection first.
Go to Control Panel and select Printers and Devices
Locate and right-click on your printer on the list
Select properties followed by the software tab
Un-tick “automatically update” your printer
5. Wrong / malfunctioned ink cartridges
There’s also a chance that you purchased faulty or defective ink or toner cartridges. It could be the reason why the HP ink cartridge isn’t working. Try contacting HP if you receive problematic ink cartridges. If you purchase compatible or remanufactured ink cartridges, make sure it’s from a legit and trustworthy source like YoyoInk.
6. Improper Cartridge Installation
Your printer doesn’t recognize your new ink cartridge because you may have installed it the wrong way. Because the ink cartridge wasn’t loaded properly in the designated slot in the right position, it doesn’t get detected by the printer resulting in the error message “No ink cartridge found.” Try and see if your ink cartridges are installed correctly inside the printer.
If your HP printer appears offline, it’s likely because it can’t communicate properly with your PC. That means you won’t be able to print unless you get your printer back online. Here are some things you can do to fix the issue.
Make sure your HP printer is turned on. Check the power cord and see to it that it’s properly attached to a power supply. Make sure that the printer is also connected to the same Wi-Fi network as your PC. Your printer has a built-in menu that will show you which network it’s connected with, or refer to the product manual for additional info.
Check and make sure that your printer isn’t in “Use Printer Offline” mode. Go to Start > Settings > Devices > Printers & scanners. Find and select your printer and then go to > Open queue. Under Printer, make sure that Use Printer Offline isn’t selected.
Resetting HP printers is virtually the same across all models, which means you can follow the same procedure to reset any HP printer model. So whether you’re using an HP Inkjet Ink Advantage or HP Deskjet, you can follow this short printer reset guide. It’s a simple process, and it can be a potential solution if your encounter a problem with your printer. So let’s start:
Plugin the printer’s power cord and press the power button to turn on the machine
Wait for the lights to turn on to confirm that the HP printer is ready.
Long press the power button followed by the cancel button for at least ten seconds.
Release the power button and then the cancel button
Wait for the printer to respond. You will hear the printer trying to print.
You will see a red light blinking notifying that there is no paper in the printer. Stop the notification by pressing the cancel button once.
Once the red button stops printing, this means that you have successfully reset your HP printer.
If supported by your HP printer, you can print wirelessly with HP mobile printing solutions from laptops, tablets, or smartphones. You can choose from numerous mobile printing solutions for home or business environments on popular operating systems, including Android, Chrome, iOS, OS X, and Windows. So how do you connect your mobile device to your printer? There are several ways to go about it, and it will depend on the printer’s capability and location.
Wi-Fi: Take advantage of your laptop, phone, or tablet’s wireless capability to print to a printer near you that’s connected to the same Wi-Fi network.
Wireless Direct or Wi-Fi Direct: You can use this to connect directly to a printer near you, just like with a Wi-Fi network.
Cloud / Internet – Cloud or internet connection lets you print to an HP printer on another network or to a printer in a remote location.
1. Go to your printer manufacturer’s Website.
2. Click Support & Drivers and select the Download drivers and software (and firmware) button. Type the name and number of your printer into the search bar. Click the Go button.
3. In the next section, select your operating system version to get the latest correct driver. Once you have chosen the operating system, click to download the driver under the ‘Driver’ heading.
4. After you have downloaded the driver, run the installer to complete the setup. A reboot may be required in some cases, but afterward, your printer will have the latest driver version that its manufacturer offers.
Hi,
I have an HP Officejet 7610 series printer
I loaded the four color ink cartridges.
The printer works and prints perfectly, but the ink level is incorrect.
The printer did not detect the correct amount of ink.
And this third time, she didn’t find the right amount.
What is the solution?
Step 1: Take out the ink cartridges
Step 2: Turn ON your printer and wait for 20 seconds. Turn it off. Allow the printer to completely turn off.
Step 3: Repeat this step five times so that the HP cartridge identification information will be erased from the printer’s memory. (HP printers normally store the identification information of the last five ink cartridges that were used.)
Step 4: Replace the black and the color HP cartridges inside the printer. Print a test page to ensure the cartridge level system is reset and the machine is printing correctly.
I have replaced a color 63xl cartridge into my HP 3830 and the printer requested to remove and reinstall . I have done this several times and have cleaned the contacts both on the cartridge and printer with the same results. If I reinstall the original cartridge, I get the same request from the printer. I’ve done the shut off and reinstall with no change of operation. Same results even with a third cartridge. “Remove and Reinstall making sure it is correctly installed. IS it time for a new printer>
Based on the information provided, it looks like that the printer is the issue, since you’ve tried installing and reinstalling both the original and replacement ink cartridges, however gave you the same error. You can reach out to your printer manufacturer’s customer care as you might need to send the unit for further technical help.
Hello, I have replaced my ink cartridges with new ones. Keep getting the same message: Cartridges are not communicating correctly with the printer. Need help. Thanks
1. Open the ink cartridge access door. The carriage will move to the center of the printer and wait until the printer is idle and silent before you continue.
2. Disconnect any cords connected to the printer, such as the power cord and USB cable.
3. Press down on the ink cartridge to release it, and then pull the ink cartridge toward you to remove it from its slot.
4. Hold the ink cartridge by its sides.
5. Inspect the copper-colored contacts for ink and debris buildup.
6. Gently wipe the contacts with a dry swab or lint-free cloth until they are free of debris.
7. Lightly dampen a clean foam-rubber swab or lint-free cloth with distilled water, and then clean the contacts.
8. Lightly dampen another clean foam-rubber swab or lint-free cloth with distilled water, and then clean the electrical contacts in the carriage,
9. Wait for the ink cartridge and carriage contacts to dry before you continue (approximately 10 minutes).
10. Hold the ink cartridge by its sides with the contacts toward the printer, insert the ink cartridge into its slot, and then gently push the ink cartridge until it snaps into place.
11. Repeat these steps to clean and then reinsert the other ink cartridge.
12. Close the ink cartridge access door.
13. Reconnect the power cord or USB cable to the printer, if needed.
14. Turn on the printer if it does not turn on automatically.
We use cookies to ensure that we give you the best experience on our website. If you continue to use this site we will assume that you are happy with it. Ok


 Live Chat


Victoria E Lathos
How do you update the printer driver?
Julia Page
Hello Victoria!
1. Go to your printer manufacturer’s Website.
2. Click Support & Drivers and select the Download drivers and software (and firmware) button. Type the name and number of your printer into the search bar. Click the Go button.
3. In the next section, select your operating system version to get the latest correct driver. Once you have chosen the operating system, click to download the driver under the ‘Driver’ heading.
4. After you have downloaded the driver, run the installer to complete the setup. A reboot may be required in some cases, but afterward, your printer will have the latest driver version that its manufacturer offers.
I hope this helps!
Mary Allen
my printer is still not working every thing is blinking nothing will turn off. i really like this printer
Julia Page
Hello Mary! What model of HP printer are you using?
mfm
Hi,
I have an HP Officejet 7610 series printer
I loaded the four color ink cartridges.
The printer works and prints perfectly, but the ink level is incorrect.
The printer did not detect the correct amount of ink.
And this third time, she didn’t find the right amount.
What is the solution?
Julia Page
Step 1: Take out the ink cartridges
Step 2: Turn ON your printer and wait for 20 seconds. Turn it off. Allow the printer to completely turn off.
Step 3: Repeat this step five times so that the HP cartridge identification information will be erased from the printer’s memory. (HP printers normally store the identification information of the last five ink cartridges that were used.)
Step 4: Replace the black and the color HP cartridges inside the printer. Print a test page to ensure the cartridge level system is reset and the machine is printing correctly.
tony
I have replaced a color 63xl cartridge into my HP 3830 and the printer requested to remove and reinstall . I have done this several times and have cleaned the contacts both on the cartridge and printer with the same results. If I reinstall the original cartridge, I get the same request from the printer. I’ve done the shut off and reinstall with no change of operation. Same results even with a third cartridge. “Remove and Reinstall making sure it is correctly installed. IS it time for a new printer>
Julia Page
Based on the information provided, it looks like that the printer is the issue, since you’ve tried installing and reinstalling both the original and replacement ink cartridges, however gave you the same error. You can reach out to your printer manufacturer’s customer care as you might need to send the unit for further technical help.
Delores Proctor
Hello, I have replaced my ink cartridges with new ones. Keep getting the same message: Cartridges are not communicating correctly with the printer. Need help. Thanks
Julia Page
You can try to clean the electrical contacts by:
1. Open the ink cartridge access door. The carriage will move to the center of the printer and wait until the printer is idle and silent before you continue.
2. Disconnect any cords connected to the printer, such as the power cord and USB cable.
3. Press down on the ink cartridge to release it, and then pull the ink cartridge toward you to remove it from its slot.
4. Hold the ink cartridge by its sides.
5. Inspect the copper-colored contacts for ink and debris buildup.
6. Gently wipe the contacts with a dry swab or lint-free cloth until they are free of debris.
7. Lightly dampen a clean foam-rubber swab or lint-free cloth with distilled water, and then clean the contacts.
8. Lightly dampen another clean foam-rubber swab or lint-free cloth with distilled water, and then clean the electrical contacts in the carriage,
9. Wait for the ink cartridge and carriage contacts to dry before you continue (approximately 10 minutes).
10. Hold the ink cartridge by its sides with the contacts toward the printer, insert the ink cartridge into its slot, and then gently push the ink cartridge until it snaps into place.
11. Repeat these steps to clean and then reinsert the other ink cartridge.
12. Close the ink cartridge access door.
13. Reconnect the power cord or USB cable to the printer, if needed.
14. Turn on the printer if it does not turn on automatically.