Are you having problems with your HP Deskjet 3520 ink cartridges? There’s a high chance that the vents of your ink cartridges are clogged. Find out how to clean them automatically and manually here!
HP Deskjet 3520 is a small wireless all-in-one printer that you can buy at a very affordable price. It supports mobile printing and though it doesn’t have the bells and whistles, many users praised its dependability and simplicity. It is easy to set up and connects to your PC or mobile phones without any problems. For users who are only printing occasionally, they found this printer perfect for their needs.
In addition, HP Deskjet 3520 printer ink cartridges come in 4 separate cartridges (one for each color). This makes it easier for you to replace only the cartridge that ran out of ink. However, the main disadvantage of this printer is it keeps on performing an alignment test every time it is powered up which consumes a lot of ink.
Regardless of your application, there are times that the ink cartridges get clogged, especially if you’re not printing often. To fix this problem, follow the solutions that we will be discussing here.
You can either clean your printer’s ink cartridges automatically or manually if your printer is printing unsatisfactory documents or photos. But before everything, try to do a hard reset on your printer first before cleaning the ink cartridges and see if this solves your problem:
Resetting Your Printer
Resetting your printer oftentimes gets rid of most printer issues. To reset your printer, follow the steps below:
Make sure your printer is turned on.
Wait for the printer to become silent and idle.
Unplug the power cable from the back of your printer while it is still on.
Disconnect the power cable from your wall socket.
Wait for about 60 seconds.
Reconnect the power cable to your wall socket before reconnecting it to your printer. To prevent other printer problems, it is best that you connect your printer directly to a wall socket.
Your printer should turn on automatically. If not, just press its Power button.
Wait for the printer setup before trying to print again.
Is your printer still not printing properly? We recommend trying automatic cleaning first before you perform a manual cleaning process. If your printer is still not working fine after the automatic cleaning process, then you might need to clean the ink cartridges manually.
Note that dried ink on the cartridges will clog the cartridges’ vents when you are not using your printer regularly. Also, dirty contacts will interfere with the communication between the ink cartridges and your printer. This causes your printer to malfunction and display warnings. To get rid of these issues, check out the ink cartridge cleaning methods in the next sections
How Do You Automatically Clean an HP Ink Cartridge?
There are two ways on how to automatically clean HP printheads:
Through your printer’s Control Panel
Through the HP Printer software
Method 1. Through the Printer Control Panel
Check your printer’s Home screen. You should see Quick Forms, Copy, and Scan displayed on it. If you don’t see these, just press Back until you see them.
Choose Settings and then Tools.
Choose Clean Printhead.
Follow the instructions on the screen.
Method 2. Through the HP Printer Software
Load unused A4 or Letter paper into your printer.
Open the HP printer software by searching for your printer’s model on your computer.
Once the software opens, click on Print and Scan.
Go to Maintain Your Printer. This will open the Printer Toolbox.
Go to the Device Services tab.
Click on Clean Printheads.
Follow the instructions on the screen.
Additional Method: Cleaning Ink Smears
If there are ink smears on your printouts’ back pages, there is also an option for fixing these:
Click on Settings from your printer’s Home screen.
Choose Tools and then find Clean Ink Smear.
Press OK and then follow the onscreen instructions.
Before you can clean the ink cartridges, of course, you need to remove them from your printer first. If it is your first time doing this, below are the steps:
1.
Uninstalling Ink Cartridges From Your Printer
Open the access food to the ink cartridges.
Wait for the carriage to become idle and silent.
To remove an ink cartridge, just press the ink cartridge’s tab on its front. This will release the ink cartridge.
If you see orange tabs on any of your ink cartridges, pull them out.
Get a clean paper and then place the ink cartridges one by one on it with their ink openings pointing up.
Close the access door.
2.
Manual Cleaning of Ink Cartridges
NOTE:
The cleaning process should not exceed more than 30 minutes because this can damage your ink cartridges and printer. (They should not be exposed outside your printer for more than 30 minutes.)
1. To clean the contacts and vents of your ink cartridges, prepare the following:
Distilled water (Tap water is NOT recommended as it can damage your ink cartridges.)
A clean and dry cotton swab and lint-free cloth
A pin for cleaning clogged vents
2. Look for the vent areas on each cartridge and examine them. The vent areas are located next to HP’s logo on the top portion of the ink cartridges.
3. Check for clogged vents and clean them using the pin.
4. Next, check if the metal contacts of the ink cartridges are dirty. If yes, dampen the cotton swab or lint-free cloth with distilled water.
5. Wipe any debris or dried ink on the metal contacts carefully. When doing this, make sure not to wipe other parts outside the metal contacts and that you don’t smear ink elsewhere.
6. Allow the contacts to dry or you can wipe them using a dry lint-free cloth to make the process faster.
7. Get a lightly-dampened cotton swab and then wipe any debris or ink on the contacts of the ink cartridge slots on your printer (also called printheads).
8. Again, wipe the printheads with a dry cotton swab or lint-free cloth first.
9. Reinsert each ink cartridge into their respective slots by pushing them down and then forward until they snap into place.
10. Make sure that none of the ink cartridges are protruding. If any cartridge is protruding, just press down on it firmly until it clicks into place.
11. Now close the access door.
3.
Updating the Printer Driver and Firmware
Lastly, there are times that an outdated printer driver and firmware may be causing the error you are receiving. Cleaning the ink cartridges might not be actually necessary in the first place. Keeping these things updated helps prevent other HP printer problems from happening, so make sure that you always update them.
Just go to HP’s official website, search for your printer’s model, and then scroll down to see the list of printer driver and firmware updates. Download them and then install them on your computer.
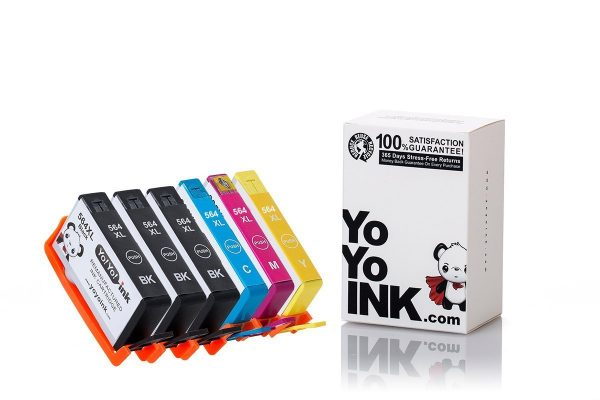
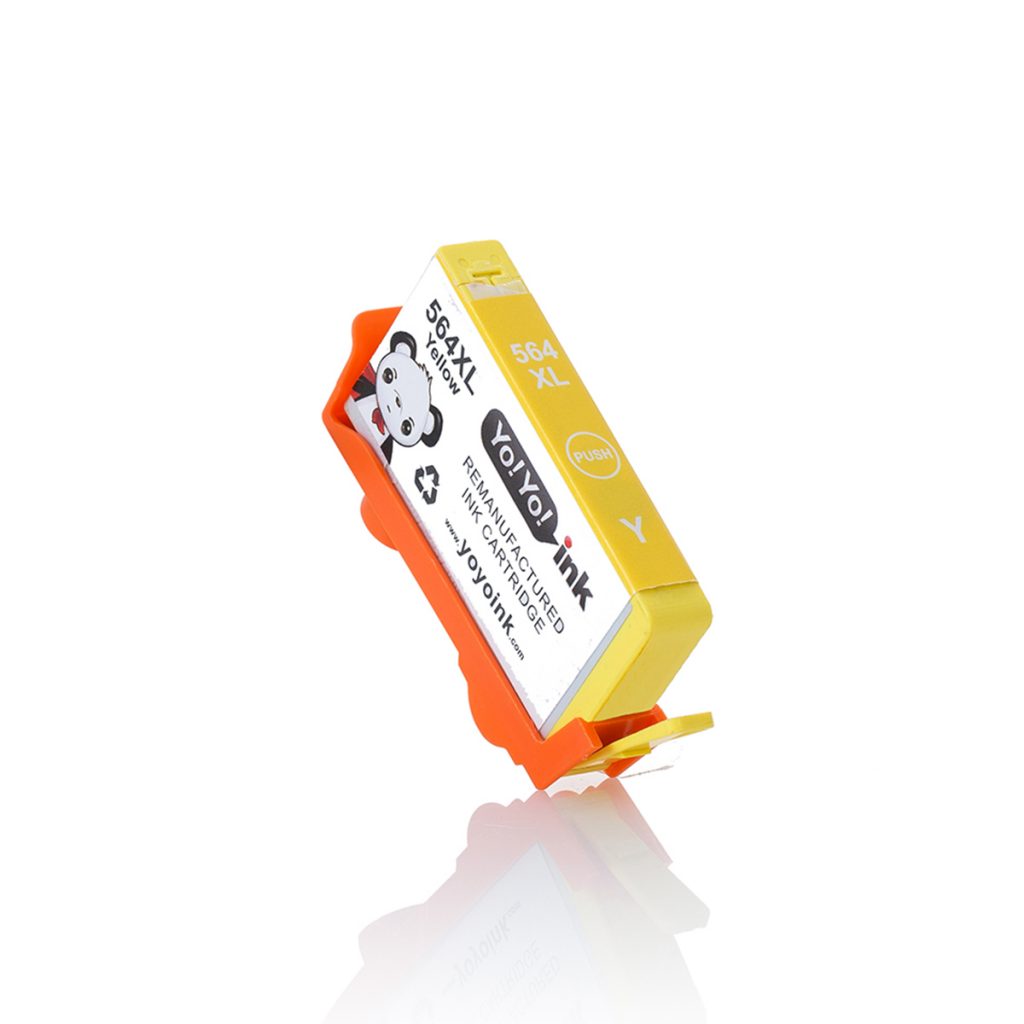
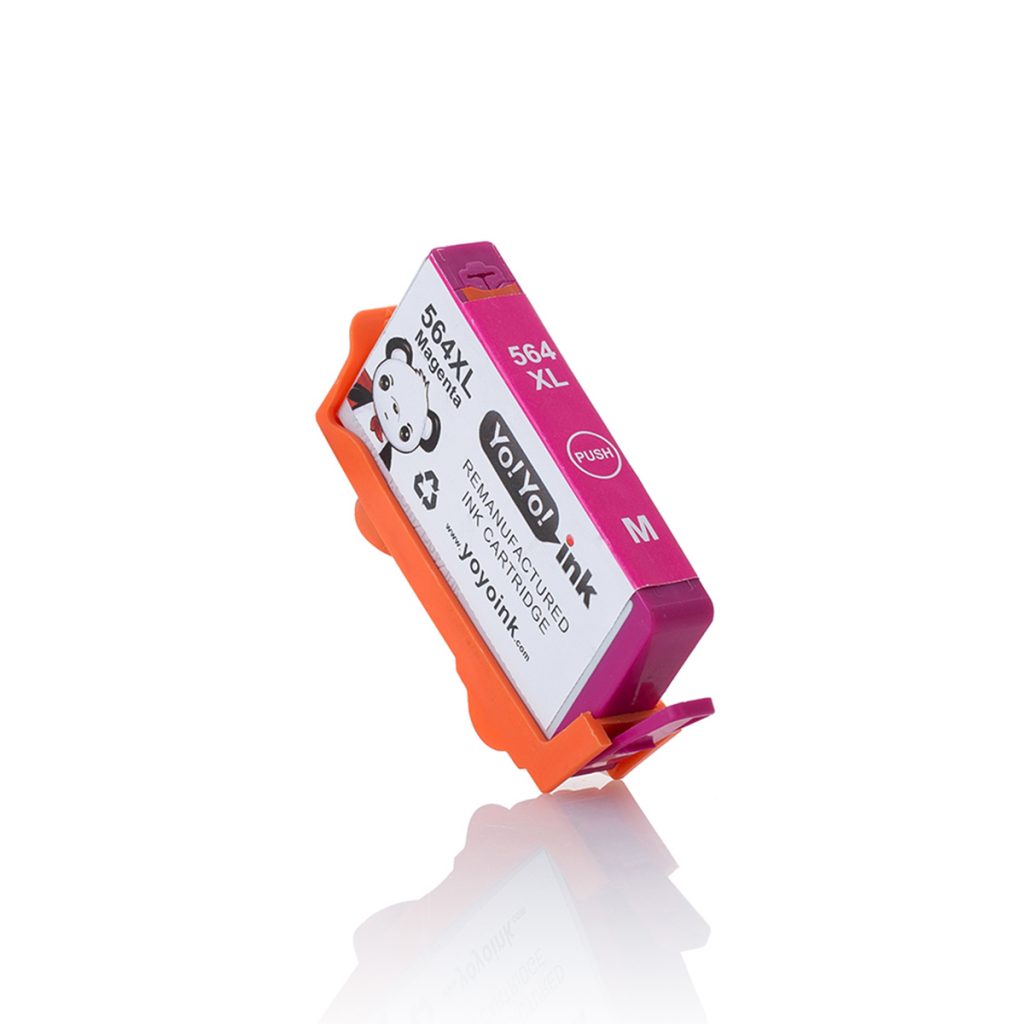
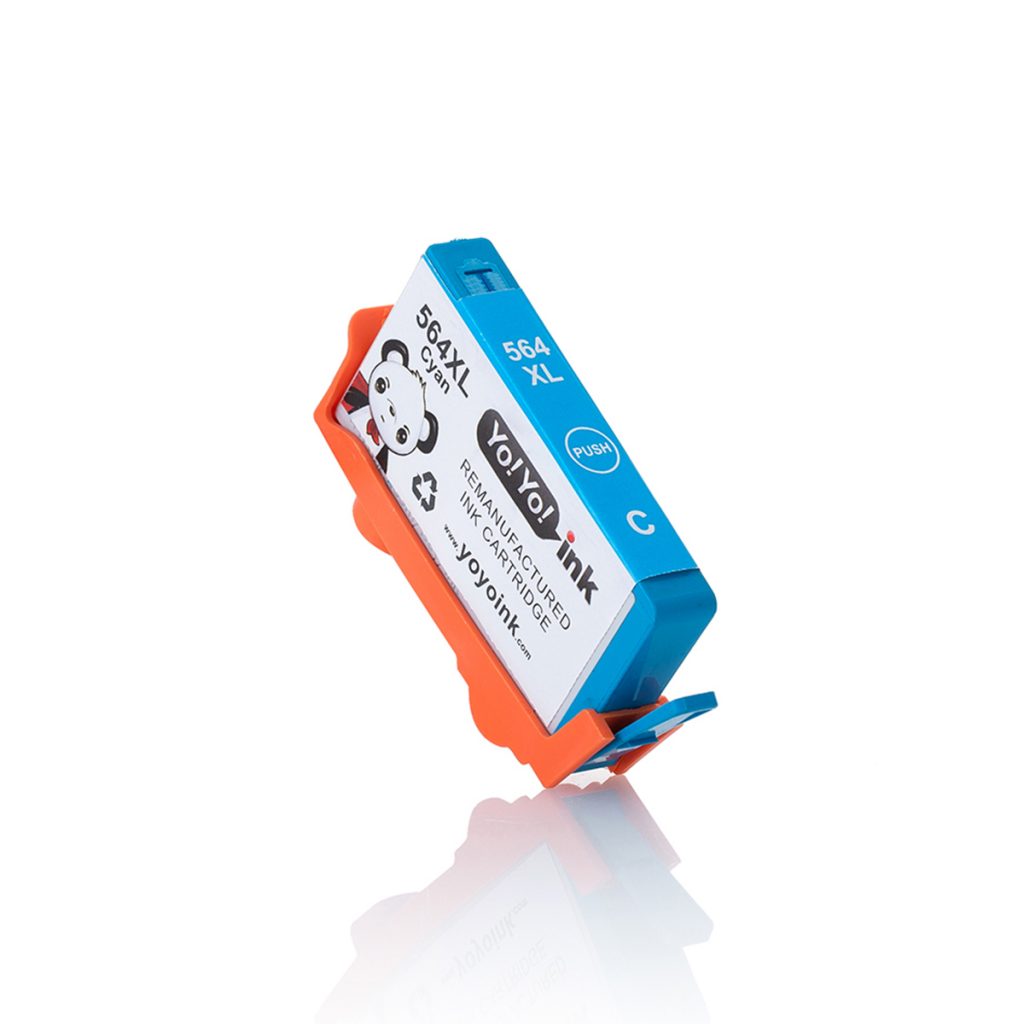
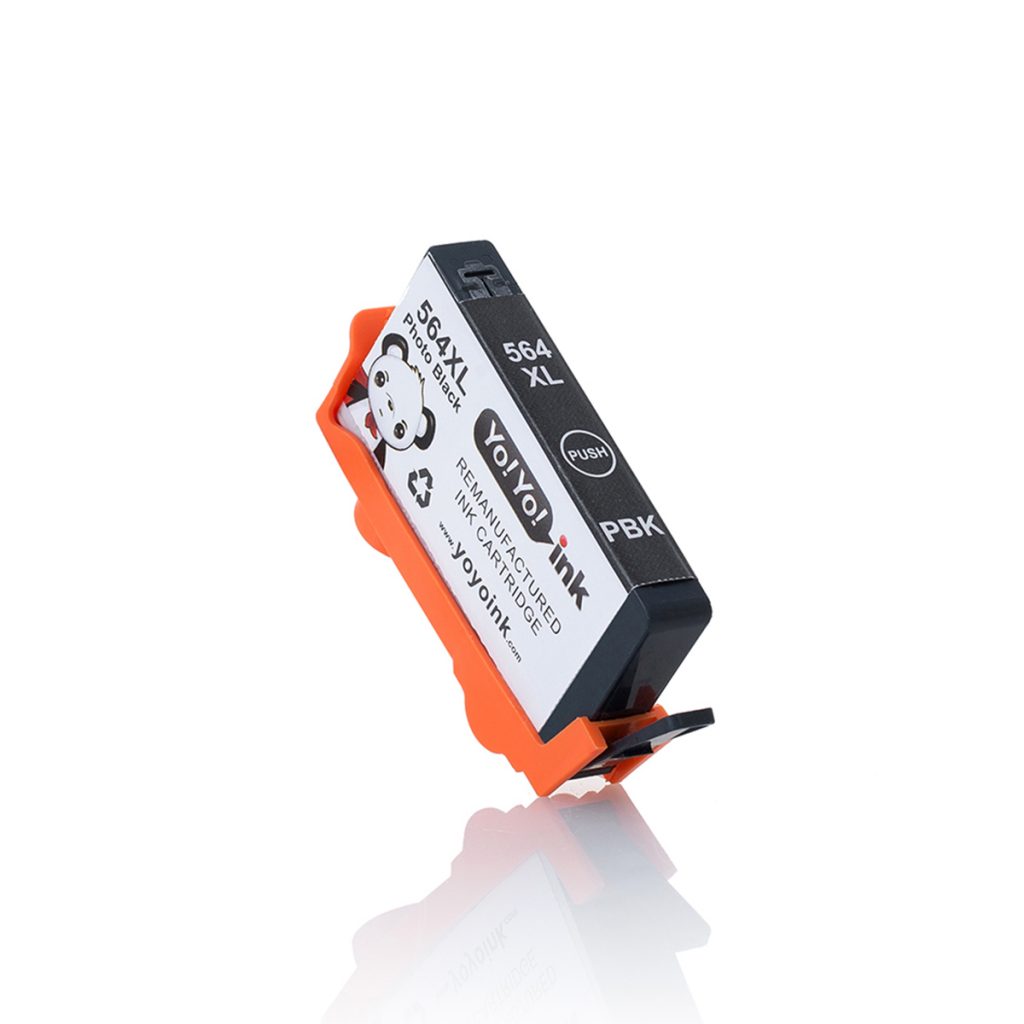
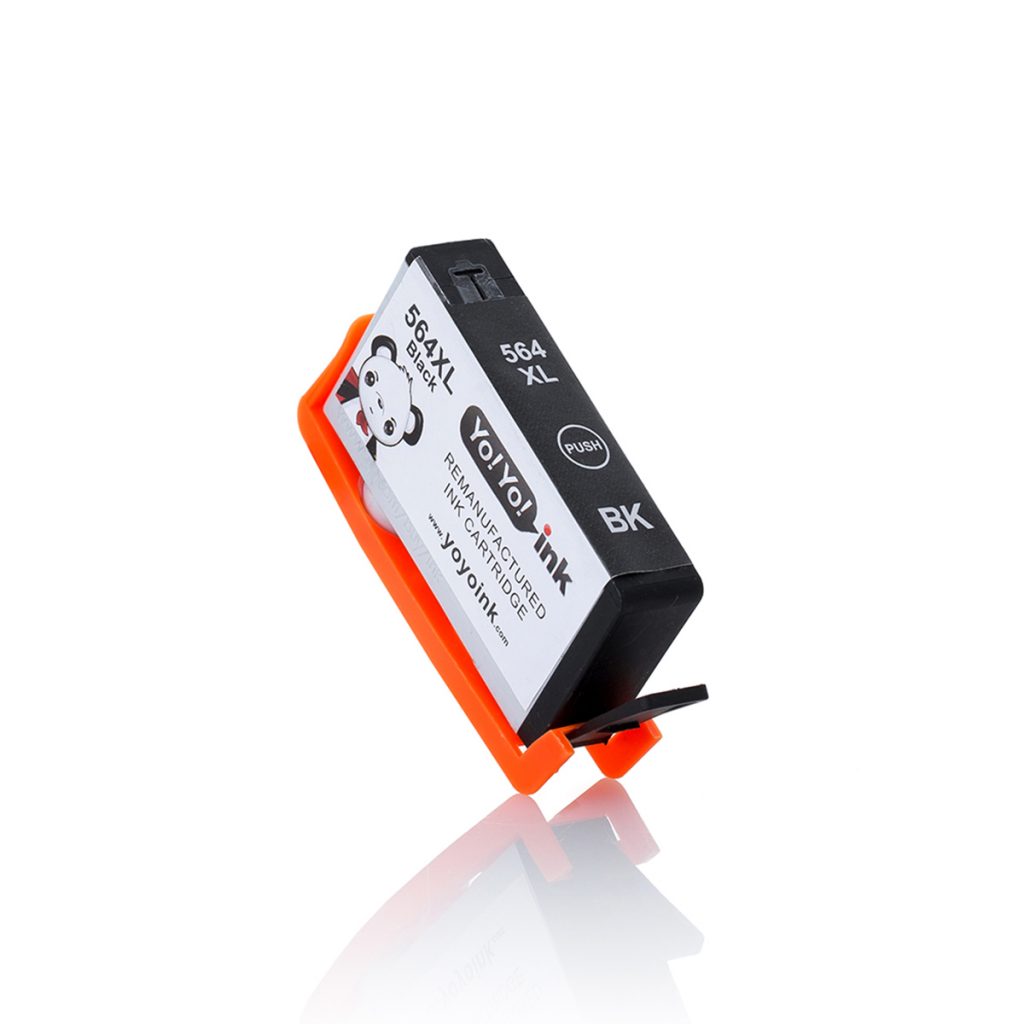
REMINDER: Use ONLY Reliable Ink Cartridge For HP Deskjet 3520
If you have inserted replacement ink for HP Deskjet 3520 and your printer suddenly stops working, it’s most likely because you are using incompatible cartridges. To ensure that you don’t end up wasting your money instead of saving some by buying cheaper ink cartridge alternatives, choose a reliable manufacturer.
YoyoInk has been manufacturing high-quality compatible and remanufactured ink cartridges for famous printer brands for more than a decade. With customer satisfaction as our main focus, we can give you superior-quality but affordable HP Deskjet 3520 ink cartridges. Feel free to contact us to know more!
Wrapping Up
To summarize this blog, reset your printer first to see if this fixes your problem. If not, perform an automatic printhead cleaning process and then a manual ink cartridge cleaning process if the former method did not work. Lastly, always buy high-quality ink cartridges if you want to use aftermarket cartridges.
This guide was meant to show you how to clean HP ink cartridges. But if you are facing other HP printer issues, feel free to check out the articles below:
We use cookies to ensure that we give you the best experience on our website. If you continue to use this site we will assume that you are happy with it. Ok


 Live Chat