HP Deskjet 3510 is a compact all-in-one printer that is ideal for users who are only printing on an occasional basis but need an affordable multifunction printer. It is very capable for its price and can produce good quality texts and photos. But like any other printer brand, you cannot easily make aftermarket cartridges work with HP printers.
There is a reason why HP recommends using genuine ink cartridges. Using non-OEM consumables will cause problems that are sometimes hard to resolve unless you use ink cartridges that are specifically designed for these printers.
If you are looking for ways on how to reset your HP ink cartridge, then I guess you might be using a third-party ink for HP Deskjet 3510 or have just refilled your cartridges. No worries because here, we will give you 2 answers to your “How do I reset my HP ink cartridge?” question.
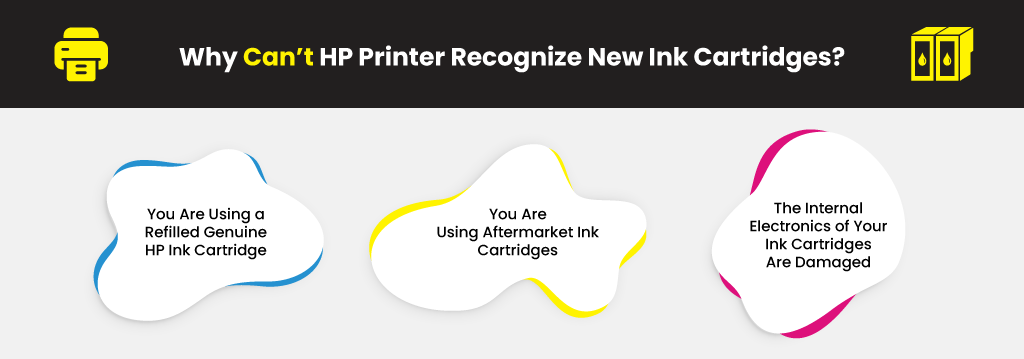
Why Can’t My HP Printer Recognize My New Ink Cartridges?
Before we proceed to the possible solutions to your problem, let us first help you understand why your HP printer is rejecting your new ink cartridges.
#1: You Are Using a Refilled Genuine HP Ink Cartridge
Has your printer ever shown you a low-level ink warning even if your cartridges still have plenty of ink? There are times when your printer will show an incorrect estimation of ink levels, especially after refilling your ink cartridges.
The reason behind this is that most of HP’s printers are designed to store cartridge serial numbers in their internal memories. So when you refill the same cartridge, your printer will not be able to detect that it is refilled.
#2: You Are Using Aftermarket Ink Cartridges
Moreover, your HP printer will identify your new ink cartridges as counterfeit after refilling them or if you are using compatible or remanufactured HP ink cartridges. If this is the case, you cannot easily reset the ink levels.
Why? Because OEM HP ink cartridges are equipped with smart chips located at their nozzles which count each drop and register them as empty after the specified number of drops is reached. Thus, you just have to learn to ignore counterfeit, non-genuine, low ink, and other similar warning messages when you are using aftermarket consumables.
#3: The Internal Electronics of Your Ink Cartridges Are Damaged
You might have also encountered more serious ink cartridge errors such as the following:
Cartridge is not intended for your printer
Problem on black or color cartridge/s
Incompatible cartridges
Other similar messages
When the above messages pop up, they usually indicate that the internal electronics of the ink cartridges you are using are damaged. The electrical wires of HP ink cartridges are very sensitive and susceptible to damages which can result in cartridge communication failures. Also, the likelihood of internal electrical damage increases along with the length of time a cartridge is stored without being used.
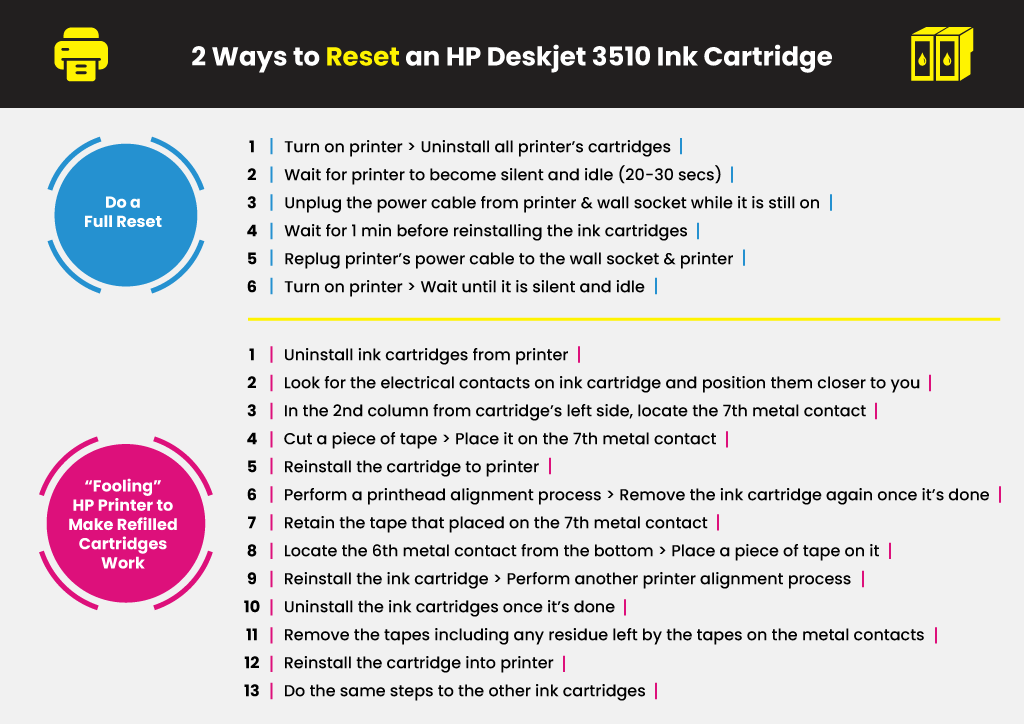
2 Ways to Reset an HP Deskjet 3510 Ink Cartridge
After understanding the reasons behind ink cartridge incompatibility issues with your HP printer, below are 2 ways on how to make your printer recognize your new cartridges.
Method 1: Do a Full Reset on Your Printer
Resetting your printer usually solves most ink cartridge problems. If your printer keeps asking you to replace ink cartridges or keeps saying that the ink cartridges are empty, doing a full reset should work.
To reset your printer, follow the steps below:
If your printer is not on, turn it on first.
Uninstall all of your printer’s cartridges.
Wait for your printer to become silent and idle. This usually takes 20 to 30 seconds.
Unplug the power cable from your printer and from the wall socket while it is still on.
Wait for one minute before reinstalling the ink cartridges.
Replug your printer’s power cable to the wall socket and to your printer.
Turn on your printer and wait until it is silent and idle.
Check if it can now read your new ink cartridges. If not, reset your printer five times by following these steps:
Turn off your printer and uninstall your printer’s ink cartridges again.
Turn on your printer and wait for 20 seconds before turning it off again. Wait for your printer to turn off completely.
Repeat Step 2 five times.
Reinstall the ink cartridges to your printer.
Print a test page. This will make sure that the ink level system of your printer is reset.
Resetting your printer five times will erase the identification information of previously installed HP cartridges from your printer’s internal memory. HP’s printers usually store the serial numbers of the last five cartridges you used. If this still didn’t work, you can fool your printer to make it think that you have installed new ink cartridges if you are using refilled cartridges.
Method 2: “Fooling” Your HP Printer to Make Refilled Cartridges Work
For refilled genuine HP cartridges, you will need clear tape for these steps:
Uninstall the ink cartridges from your printer.
Look for the electrical contacts on your ink cartridge and position them closer to you. You will see 6 columns of metal contacts.
In the 2nd column from your cartridge’s left side, locate the 7th metal contact (count from the bottom which is the one closest to you).
Cut a piece of tape and place it on the 7th metal contact.
Reinstall the cartridge to your printer.
Perform a printhead alignment process (the steps are specified in the next section). Once done, remove the ink cartridge again.
Retain the tape you placed on the 7th metal contact. Now, in the 2nd column from your cartridge’s right side, locate the 6th metal contact from the bottom.
Again, place a piece of tape on the 6th metal contact.
Reinstall the ink cartridge and perform another printer alignment process.
Once the alignment is done, uninstall the ink cartridges and remove the tapes including any residue left by the tapes on the metal contacts.
Reinstall the cartridge into your printer.
Do the same steps to the other ink cartridge.
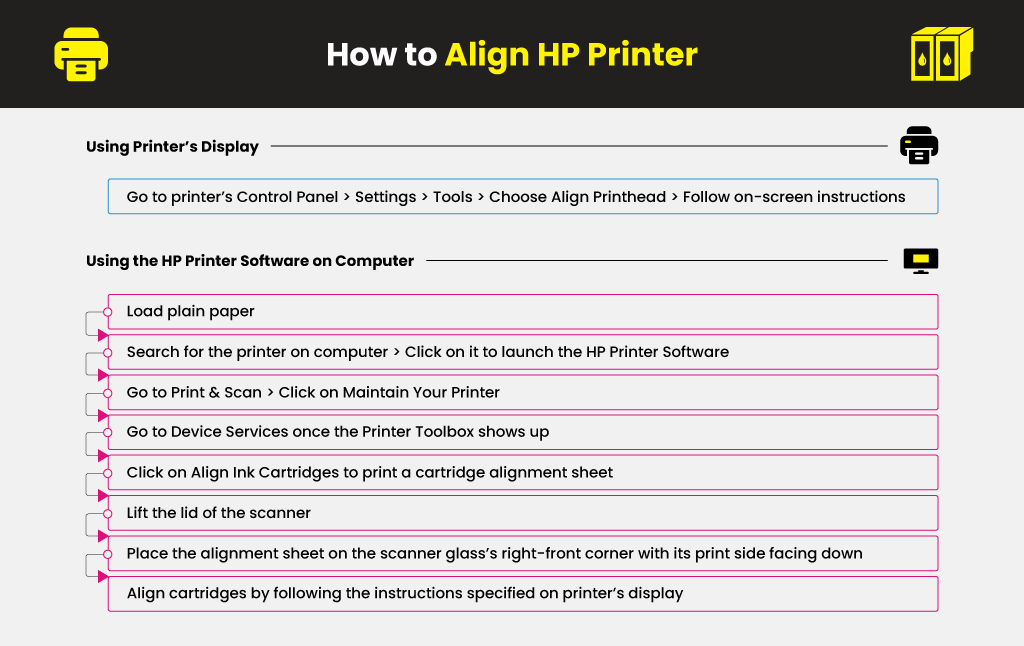
How to Align Your HP Printer
A printhead alignment process is always recommended when you are installing new ink cartridges. Do the steps below to align your printer:
Using Your Printer’s Display
Go to your printer’s Control Panel. This displays Quick Forms, Copy, and Scan. If you don’t see it, keep on pressing Back until you find it.
Choose Settings and then Tools.
Choose Align Printhead.
Follow the on-screen instructions.
Using the HP Printer Software On Your Computers
Load plain paper into your printer.
Search for your printer on your computer and click on it to launch the HP Printer Software.
Go to Print & Scan.
Click on Maintain Your Printer.
Once the Printer Toolbox shows up, go to Device Services.
Click on Align Ink Cartridges to print a cartridge alignment sheet.
Lift the lid of the scanner.
Place the alignment sheet on the scanner glass’s right-front corner with its print side facing down.
Align your cartridges by following the instructions specified on your printer’s display.
Wrapping It Up
One last thing to note when buying HP Deskjet 3510 ink cartridgerefills or replacement cartridges is to ensure their compatibility with your printer. A printer reset will not always work if you are using unreliable ink cartridges, so make sure that you buy from a trustworthy supplier like YoyoInk.
We offer various HP Deskjet 3510 ink types including standard HP 61 and high-yield HP 61XL ink cartridges to help you increase your savings. With our years of experience in the industry, we can guarantee the quality of our products. Check out our other blogs for more solutions to HP printer ink issues:
We use cookies to ensure that we give you the best experience on our website. If you continue to use this site we will assume that you are happy with it. Ok


 Live Chat