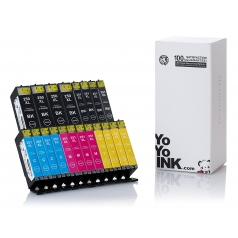
Compatible PGI-250XL & Canon 251 XL Ink Cartridge Multipack
Black: 660, Color: 660, Photo Black: 500
250, 251, CLI-251BKXL, CLI-251CXL, CLI-251MXL, CLI-251YXL, PGI-250BKXL
Avg. Price Per Cartridge: $2.89 each
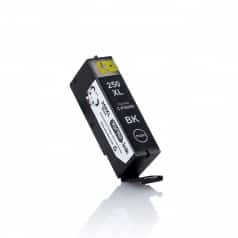
Canon PGI-250 XL High Yield Black Compatible Printer Ink Cartridge
Black: 660
250, PGI-250PGBK XL
Avg. Price Per Cartridge: $7.28 each
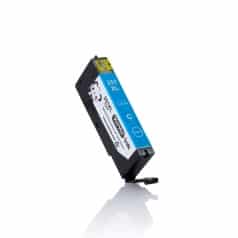
Canon CLI-251 XL High Yield Cyan Compatible Printer Ink Cartridge
Color: 660
251, CLI-251CXL
Avg. Price Per Cartridge: $6.03 each
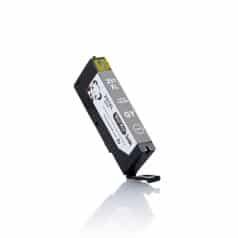
Canon CLI-251 XL High Yield Gray Compatible Printer Ink Cartridge
Color: 660
251, CLI-251GY XL
Avg. Price Per Cartridge: $6.03 each
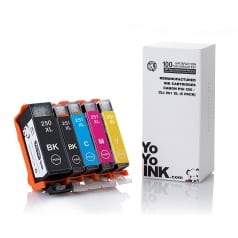
Compatible Canon PGI-250XL & Canon 251 Ink XL Cartridges | 5-Pack Combo
Black: 660, Color: 660, PGBk: 500
250, 251, CLI-251BKXL, CLI-251CXL, CLI-251MXL, CLI-251YXL, PGI-250BKXL
Avg. Price Per Cartridge: $4.90 each
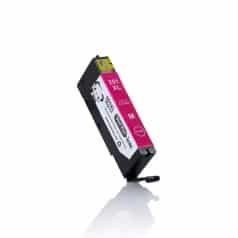
Canon CLI-251 XL High Yield Magenta Compatible Printer Ink Cartridge
Color: 660
251, CLI-251MXL
Avg. Price Per Cartridge: $6.03 each
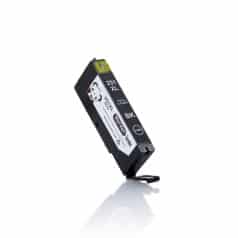
Canon CLI-251 XL High Yield Black Compatible Printer Ink Cartridge
Avg. Price Per Cartridge: $6.03 each
Canon CLI-251 XL High Yield Yellow Compatible Printer Ink Cartridge
Color: 660
251, CLI-251YXL
Avg. Price Per Cartridge: $6.03 each
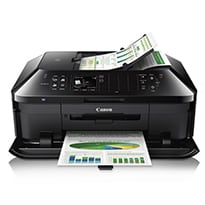
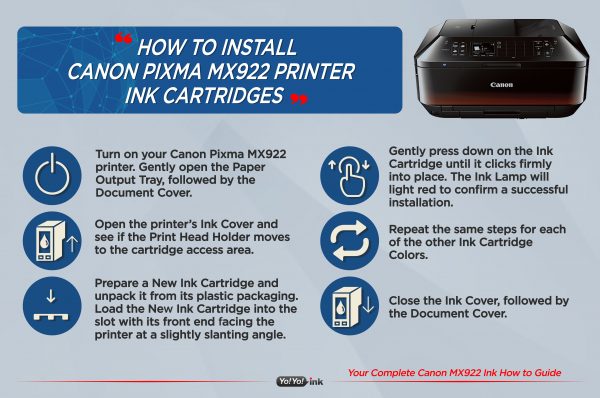
HOW DO I CHANGE THE INK IN MY CANON MX922?
- Kindly turn on your Canon Pixma MX922 printer
- Gently lift the printer’s Top Cover, followed by the Ink Cover. The Print Head repositions for cartridge replacement.
- Push the tab at the front of the Empty Ink Cartridge to release it and then lift the tank out from its slot.
- Take out the New Ink Cartridge from its packaging, plastic sheet and Orange cap.
- Insert the front end of the Ink Cartridge into the empty slot at a slanting position. Press the Ink Cartridge down until it locks into place.
- Repeat the same steps for each other ink cartridge colors.
- Gently close the Ink Cover, followed by the Top Cover, and wait for your printer to initialize.
See Infographic ↓
Compatible Cartridges for Canon Pixma MX922 Ink Replacement:
Canon 250, 251, CLI-251BKXL, CLI-251CXL, CLI-251MXL, CLI-251YXL, PGI-250BKXL Ink Cartridge
FAQ & GUIDE FOR CANON MX922 PRINTER INK & PRINTER COMPATIBLE CARTRIDGES
a. What ink does Canon MX922 use?
The Canon Pixma MX922 printer uses a PGI-250 black ink cartridge and CLI-251 Black, Gray, Cyan, Magenta, and Yellow ink cartridges. Both printer cartridges are available in high yield XL options. High yield Canon PGI-250XL & CLI-251XL ink cartridges print more pages per tank. There's also an extra high yield Canon PGI-255 XXL Black ink cartridge with an even higher page output.
b. How to reset a Canon Pixma MX922 Ink Cartridge
- Turn off your Canon Pixma MX922 printer and unplug its Power cord.
- Press the Power button while plugging the Power cord back. The printer resets to Factory Default Settings.
- Press the Right Arrow button repeatedly until a “Shipping Mode 3” message appears on the screen.
- Tap the OK button, and a “Without Cleaning” message appears.
- Open the Top Cover, and the Ink Cartridges moves towards the left. Wait for them to stop before you continue.
- Turn off your printer and unplug its Power cord. Remove the Canon MX922 Ink Cartridges and then close the cover.
- Plug back the Power cord and then press the Power button to turn on the printer. Wait for 2 – 3 minutes for the Canon MX922 to recognize the ink cartridges.
See Infographic ↓
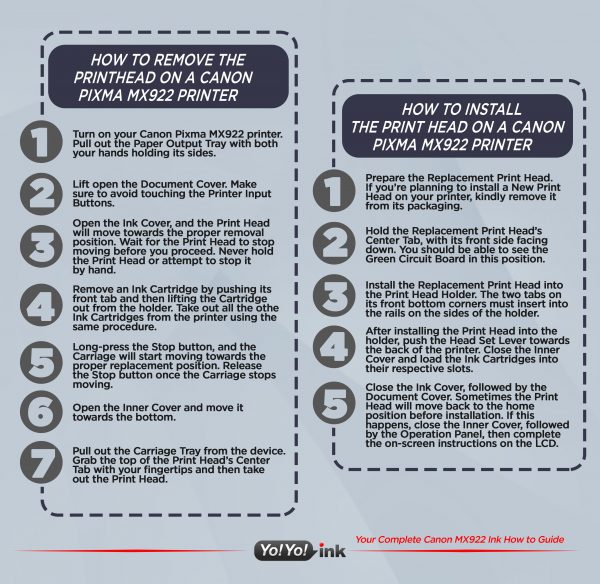
c. How to remove a Canon MX922 Printhead
- Turn on your Canon Pixma MX922 printer. Pull out the Paper Output Tray using the side handles.
- Raise the Document Cover and then open the Printer Ink Cartridge Cover. The Printhead moves towards the proper removal position. Wait for it to stop before you proceed.
- Remove a Printer Ink Cartridge by pushing its front tab to release the cartridge and then lifting it out from the holder. Follow the same steps to remove the other ink cartridges.
- Long-press the Stop button, and the Carriage moves towards the proper ink cartridge replacement position. Release the Stop button once it stops.
- Open the Inner Cover and move it towards the bottom.
- Pull out the Carriage Tray. Grab the top of it's Center Tab with your fingertips and then remove the Printhead from the printer.
d. How to install a Canon MX922 Printhead
- Prepare the replacement Printhead product for your Canon Pixma MX922 printer.
- Hold the Center Tab with its front side facing down.
- Install the Printhead into the holder. The two tabs on its front bottom corners must insert into the rails on the sides of the holder.
- Push the Head Set Lever towards the back of the printer. Close the Inner Cover and install the Canon Pixma MX922 Ink Cartridges.
- Close the Cover, followed by the Document Cover.
See Infographic ↓
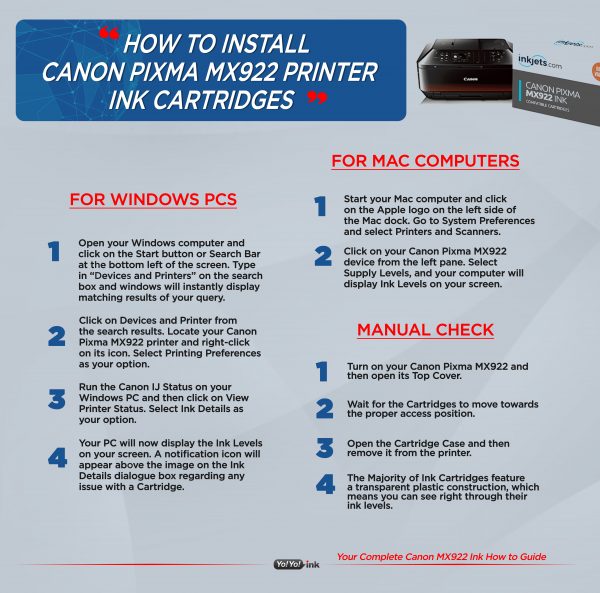
e. How to check Canon Pixma MX922 Ink Levels
Follow the steps below to check Canon Pixma MX922 ink levels from a Windows PC or Mac Computer. There’s also a manual check option that you can use directly from your printer.
For Windows PC:
- Search for and launch “Devices and Printers” from Windows.
- Locate your Canon MX922 product, right-click on its printer icon, and then select Printing Preferences.
- Run the Canon IJ Status. Click on View Printer Status and then select Ink Details.
- Your PC displays the current Canon MX922 Printer Ink Levels. A notification icon will appear above the Ink Details dialogue box if there's an issue with an ink tank.
For MAC Computer:
- Go to System Preferences and select Printers and Scanners.
- Click on Canon MX922 from the left pane. Select Supply Levels, and your computer displays the current Canon Pixma MX922 Printer Ink Levels.
Manual Check:
- Turn on your Canon Pixma MX922 and then open its Top Cover.
- Wait for the Ink Cartridges to move towards the proper access position.
- Open the Cartridge Case and then remove it from the Canon MX922.
- The majority of Canon ink tanks feature a transparent plastic construction, allowing you to see right through their ink levels.
See Infographic↓


 Live Chat


